Educational overview only. Prudent Guardian (www.inspirecodingedu.com) is not an insurance company, broker, law firm, or registered investment adviser, and does not provide personalized insurance, investment, tax, medical, or legal advice. Verify details with licensed professionals and official issuers.
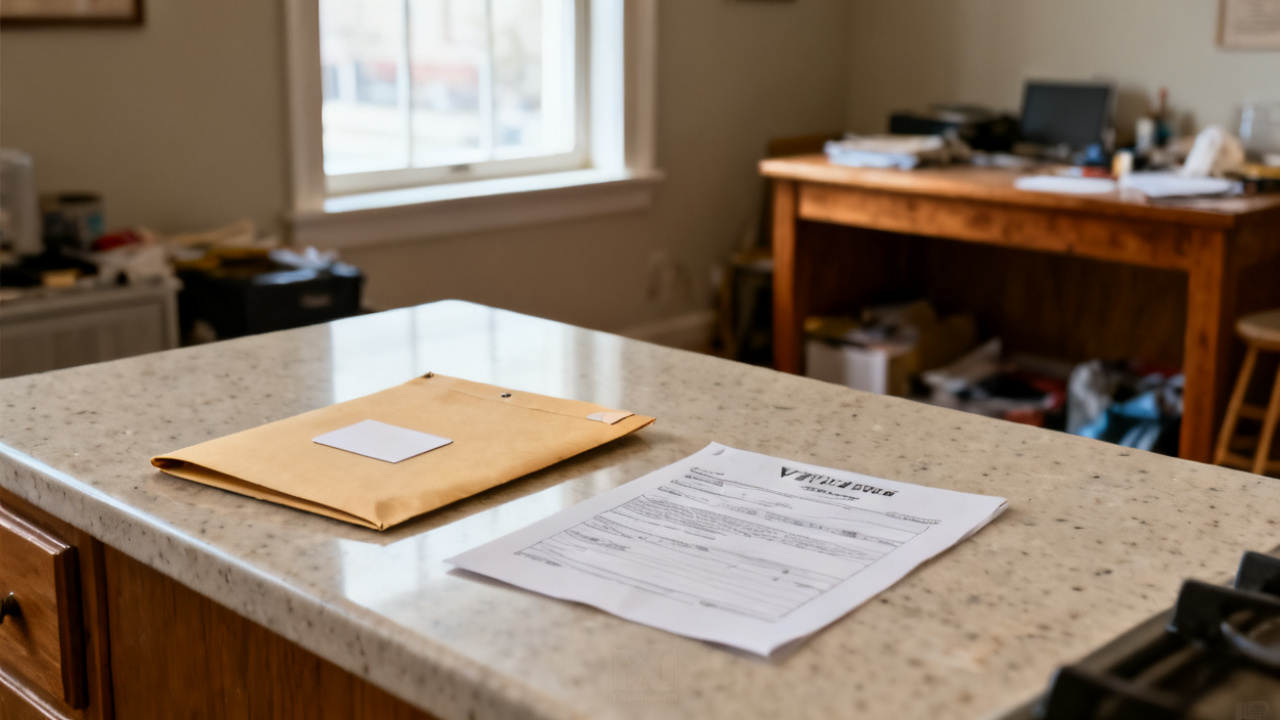
The waiver date is earlier than the check date. You squint at the two pieces of paper side by side on your desk, the partially signed lien waiver stacked just under the physical check your project manager dropped off ten minutes ago. Your thumb brushes the pre-printed date field on the waiver, filled in with a date three days prior, when you submitted your pay application for the last phase of concrete work. You already know this mismatch doesn’t line up with standard process, but you need to confirm exactly what to adjust before you sign anything.
This waiver in your hand
You hold a conditional progress payment lien waiver, pre-filled by the general contractor’s administrative team to correspond with the pay application you submitted three weeks prior. The form lists the exact pay period, the scope of work completed during that window, and the total amount approved for release. Illustrative example: The listed pay amount is $14,722, covering 420 linear feet of curb and gutter installation plus 3 small accessible ramp pads completed between the 12th and 26th of last month. You cross-reference the scope listed against the pay app you uploaded to Draw Jacket earlier that month, to confirm no line items are missing or incorrectly adjusted. The only discrepancy you spot immediately is the date: the pre-printed date in the signature block is the 26th of last month, the final day of the pay period, but the paper check you are exchanging for this waiver is dated the 29th, three full days later. This mismatch is common, as most general contractors pre-fill waivers with the final day of the pay period to align with their internal record-keeping, but it requires a small adjustment before you sign to ensure the document reflects the actual terms of your exchange. You set the check next to the waiver to keep the dates aligned as you work through the rest of the document’s fine print, making sure no additional clauses limit your rights for work outside the specified pay period or change the conditional nature of the waiver. You also confirm that the pay amount listed matches the exact amount printed on the check, down to the cent, to avoid signing a waiver for a higher amount than you are actually receiving.
One critical line to confirm
The single line that dictates the entire validity of this waiver is the clause that links its enforceability to actual receipt of cleared funds. If that line is missing, the pre-dated waiver could be interpreted as a final release of rights for work through the printed date, regardless of whether the check bounces or never deposits correctly. You run your finger along that line now, reading it slowly to ensure no fine print amends that core condition. The pre-printed date on the signature block only poses a risk if that conditional language is absent, so you prioritize confirming that clause first before adjusting any dates. If the conditional clause is present, the date mismatch is a simple administrative fix, not a red flag that requires rejecting the payment entirely. You also check that the clause specifies the waiver only applies to work completed through the listed pay period, not any future work you have scheduled for the project, or any outstanding change orders that have not yet been approved for payment. Many general contractors include vague language that can extend the scope of the waiver beyond the specific pay period, so you take an extra minute to confirm the clause clearly ties the waiver to both the listed payment amount and the listed work scope for that pay window.
Where to note your adjustments
Once you confirm the conditional clause is intact and all scope and amount details match, you make clear, initialed adjustments to the date field to align it with the check date. Follow these steps to ensure your adjustments are valid and easily traceable:
- Cross out the pre-printed date in the signature block entirely with a dark blue or black pen, making sure the original text is still legible under the cross-out so no party can claim you altered the form improperly or hid original content.
- Write in the date that matches the check date next to the crossed-out pre-printed date, using the same month/day/year format as the original pre-printed text to avoid confusion for anyone processing the document later.
- Add a short, handwritten note directly below the conditional payment clause that reads “Waiver effective only upon clearance of check #[insert check number here] dated [insert check date here] for the amount of $[insert payment amount here]” to tie the document directly to the specific payment you are receiving in this exchange.
- Sign the waiver on the designated signature line only after you have added all adjustments and double-checked that the check number, amount, and date all match the physical check in front of you.
You never sign a waiver without making these adjustments if the dates are mismatched, even if the general contractor’s team tells you the pre-filled date is standard for their process. Small, clear, initialed adjustments are fully acceptable on these forms as long as both parties have a record of the modified version, and you take a photo of the fully signed, adjusted waiver before you hand it over to the project manager to keep for your own records. You also make a digital copy of the front and back of the check to store alongside the waiver photo, so you have a full paper trail of the exchange.
Next time you open this page
The next time you pull this stored copy of the adjusted waiver out is when you are reconciling your payments for that project at the end of the quarter, or if a question arises about which pay period that specific check applied to. When you open it, you first confirm that the handwritten adjustments you made are still fully legible, and cross-reference the check number listed on the waiver against your bank statements to confirm the check cleared on the expected date. If you are pulling it to address a discrepancy in the general contractor’s pay records, you can use the signed, adjusted waiver to demonstrate the terms you agreed to when you signed, including the specific check, amount, and date that correspond to the waived work scope. You also cross-reference the listed scope against any change orders you submitted for that pay period to confirm no outstanding, unapproved work is incorrectly included in the waived amount. If you are using the document for end-of-month bookkeeping, you can log the payment amount and check number into your accounting system directly from the details listed on the adjusted waiver, ensuring your records align with the terms you agreed to at the time of signing. You store the digital copy of the waiver in a dedicated folder for that project, organized by pay period, so you can access it quickly if any questions arise later, without sorting through piles of physical paperwork. Even if no discrepancies come up for the duration of the project, you keep the stored waiver on file for three years after the project closes, per your internal record-keeping policies. (1298 words)