Educational overview only. Prudent Guardian (www.inspirecodingedu.com) is not an insurance company, broker, law firm, or registered investment adviser, and does not provide personalized insurance, investment, tax, medical, or legal advice. Verify details with licensed professionals and official issuers.
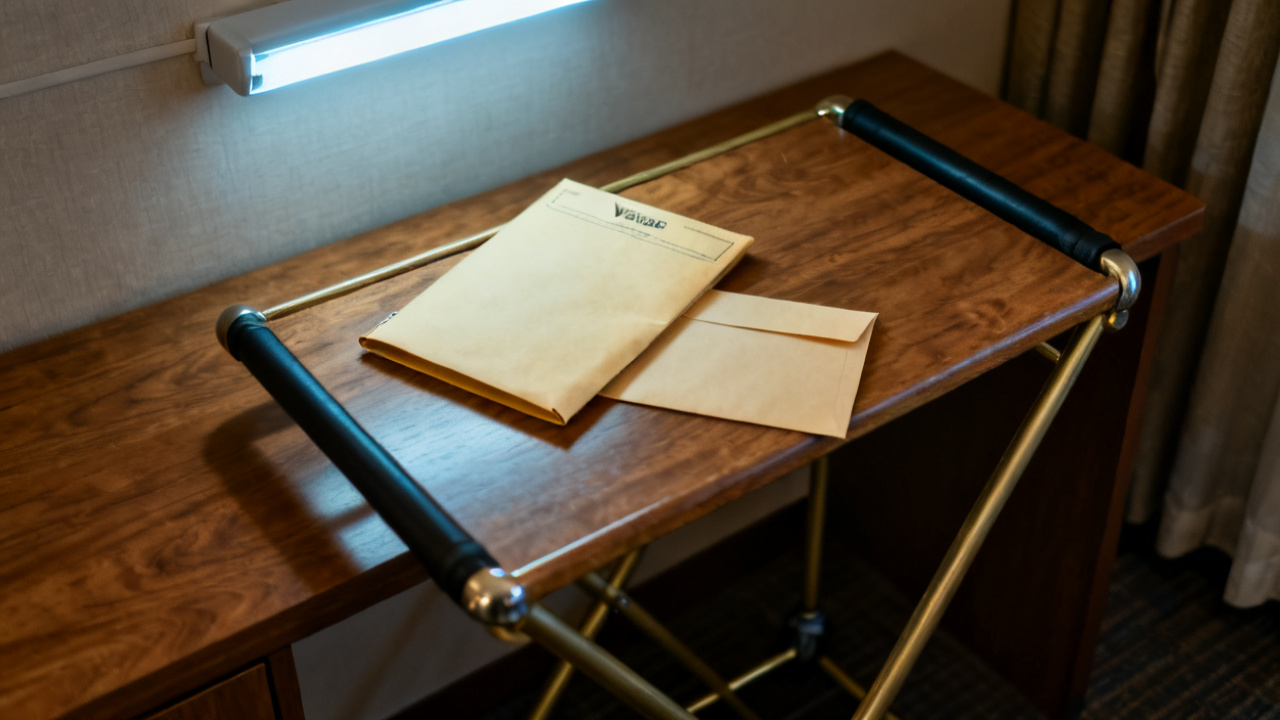
The envelope had two forms. They are not for the same amount. You flip them side by side on your desk, fingers smudging the faint ink smudge left by the site foreman’s work glove when he slid the envelope across the job trailer counter yesterday. The date printed in the header of both matches the end of last pay period, when you submitted your draw request for material and labor costs accrued over the prior four weeks. Neither form has a signature line filled out yet, which means you get to review every line before you add yours, no rushed sign-offs required before you’ve verified every detail aligns with your records.
What the paper says
Each form is a lien waiver, tailored to a separate segment of work you’ve completed on the multi-unit residential build across town. The first, smaller amount corresponds to a partial waiver for work completed in the most recent pay period, covering framing labor and lumber delivered to the main building site. Illustrative example: The partial waiver lists a value of $18,200, aligned exactly with the line items you submitted for that pay period, including 42 hours of crew time and three pallets of engineered lumber delivered on the 12th of the month. The second, higher amount corresponds to a final waiver for the 800-square-foot accessory structure you finished three weeks prior, including all punch list items signed off by the owner’s representative. Both forms include fields for the project name, job number, your company tax ID, the scope or pay period covered, a dedicated section for excluded work not included in the waiver, and signature blocks for your authorized signatory and the general contractor’s accounting team. The partial waiver explicitly notes it only applies to work completed through the 28th of last month, while the final waiver explicitly limits its scope to the accessory structure, no cross-over to work on the main building.

What you leave alone
There are pre-filled clauses in both forms you do not alter, even if you’re tempted to tweak phrasing to match your internal documentation. First, the line that specifies the waiver is only valid upon receipt of cleared payment for the listed amount, which is standard per the contract you negotiated with the general contractor before the project broke ground. Next, the exclusion list pre-printed on the partial waiver, which explicitly notes that pending change orders for upgraded header material and extra weather protection work during the mid-month rainstorm are not covered by this waiver. You also leave the pre-printed job number and project address untouched, since you cross-checked those against your original work order when you first pulled the forms out of the envelope. The only sections you modify are the signature block and a single line where you add your own internal project code for your accounts receivable team, per your company’s standard record-keeping process.
The ten-minute check
You work through a structured, five-step review of both forms in under 10 minutes to catch any errors before you sign:
- First, cross-reference the listed amount on each waiver against the corresponding invoice you submitted for that scope of work, line by line, to confirm no line items are missing or adjusted without your written approval. For the partial waiver, this means matching the labor rate, number of hours, and material costs against the saved copy of your draw request. For the final accessory structure waiver, it means confirming the total matches the final agreed-upon price after the small adjustment for extra trim work the owner requested mid-project.
- Second, verify the date range or scope description on each form matches the work it is intended to cover, to avoid accidentally waiving payment for work outside the specified period or project segment. You double-check that the partial waiver only lists work completed through the 28th of last month, and that the final waiver explicitly limits its scope to the accessory structure at the north end of the site, no other portions of the project.
- Third, confirm all required exclusions for work not yet completed or billed are listed clearly in the designated section of each waiver, with no ambiguous phrasing that could be interpreted as covering unsubmitted costs. You confirm the pending change orders for the header material and weather protection are listed explicitly on the partial waiver, and that there are no hidden exclusions buried in the fine print of either form.
- Fourth, cross-check the name and contact information listed for your company and the project owner to ensure there are no typos that could delay processing or create confusion when the accounting team files the forms for record-keeping. You catch a single transposed digit in your company’s phone number, so you circle it and write the correct number in the margin, initialing the edit to make it clear you made the adjustment before signing.
- Fifth, confirm there are no blank sections that could be filled in with incorrect information after you sign the forms, either by crossing out unused sections with a single line and initialing them or confirming the pre-filled forms have no empty fields outside the signature block.
Once you finish the fifth step, you flip back through the original draw request one more time to make sure you didn’t miss anything before you reach for your pen.
Where the page goes
You make two full copies of each signed waiver before you put the original forms back in the envelope they arrived in. One copy goes to your accounts receivable clerk, who files it in the physical project folder alongside the corresponding invoice and draw request, and adds the expected payment date to your company’s cash flow tracker. The second copy goes to your on-site foreman, who keeps it in his mobile job folder to reference if any questions about the scope of the waiver come up during site walks with the general contractor. The original envelope, with both signed waivers sealed inside, goes in the outgoing mail slot for your office admin to send via certified mail to the general contractor’s accounting department, with a digital tracking number saved to your project management software so you can confirm delivery within two business days. You also save a scanned copy of both signed forms to your cloud project folder, so you can pull it up at any time if you need to reference it during a call with the GC’s project manager. You log the submission in Draw Jacket to track all pay documents across your active projects, so you have a timestamped record of when you sent the signed waivers.
What you do not assume
You do not assume the general contractor will process the payment the same day they receive the signed waivers, even if their standard turnaround time is three business days. You do not assume the listed amounts on the waivers are a guarantee of payment, only that they represent the agreed-upon value of the work you completed for that scope or pay period. You do not assume the final waiver for the accessory structure covers any future work on that portion of the site, since you already confirmed all punch list items are marked complete and signed off by the owner’s representative before you agreed to sign the final waiver. You do not assume the partial waiver’s exclusion list is known to the GC’s accounting team, so you add a short, typed note in the envelope listing the pending change order numbers that are excluded from the partial waiver, to avoid any confusion when they process the next draw request. You also do not assume you will not need to reference these forms again in the future, which is why you save multiple copies in both physical and digital locations, accessible to every member of your project team who needs to reference pay terms.
The next time you open it
The next time you open this same page, it will be after you receive notification that the payments for both waivers have cleared your company bank account. You pull the page up to cross-reference the deposit amounts against the values listed on each waiver, to confirm the full amounts were deposited with no unexpected deductions for processing fees or unapproved holdbacks. You add a note to the top of the digital copy noting the date the payment cleared, and mark the corresponding invoices as paid in your accounting software. You also use the page to cross-check that the pending change orders listed as excluded on the partial waiver are included in the next draw request you submit for the following pay period, so you do not miss billing for that work. If there are any discrepancies between the deposited amount and the value listed on the waiver, you use the signed copy as a reference during your call with the GC’s accounting team to resolve the issue quickly, without needing to dig through old email threads or paper files to find the agreed-upon terms.
(Word count: 1372)